Before you can start building the application we need to design how the application will look like, and work. So lets create a GUI Prototype using the use cases in Part 1.
There are several tools for creating GUI prototypes, Microsoft SketchFlow are only available with Visual Studio Premium, because of that I will go with Pencil Project instead, it's a free open source project that works in a similar way.
Download and install Pencil Project.
Create a new Dokument.
Change page properties.
Change page size.
OK, when to apply new size.
Use the Sketch Stencils, to get a sketchy look on the components.
We can now add a box, label and so on to create a layout of the application:
To add a New Page click on Add Page to handle New Routes click "New Page":
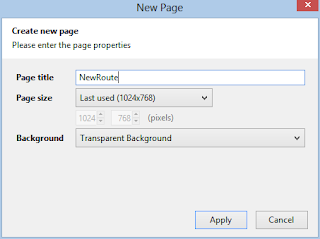
Add a descriptive name to the new Page:
It's possible to add links between the pages by right clicking items and choose link to, so we add a link to the main page to return from the New Routes page:
When the prototype is completed it's possible to export the document into different formats, so the people that is going to review the prototype dosen't need Pencil project installed:
I choose web page because everyone has a web browser:
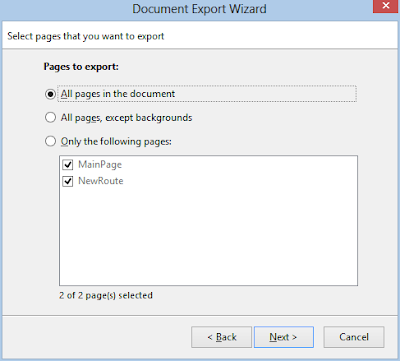
Export all pages:
Choose the output directory, I created a MyRoutesHTMLExport directory:
The result is a html page and resources:
The page show our prototype, and is clickable to jump between pages:
I will try detail the pages more in the next blog post.


No comments:
Post a Comment