Creating a XSockets.net solution is done the same way. What's new is the possibility to create a windows service running the XSockets server using Chocolatey. I will not do this in this post, but I like the idea.
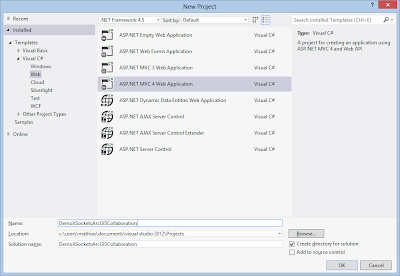
Create New Project. Is done the same way as before:
 |
| In VS2012 choose New Project |
 |
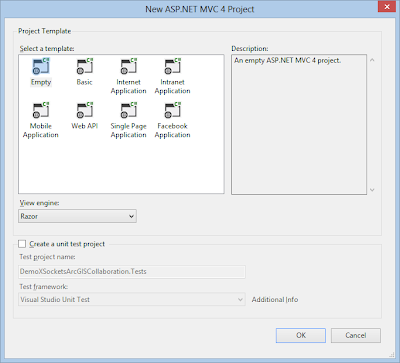
| Create a new ASP.Net MVC 4 Web application |
 |
| Choose Empty template and Razor view engine |
We use Nuget as we did before to import the XSockets.net package:
 |
| Install-Package XSockets |
 |
| Successful installation |
 |
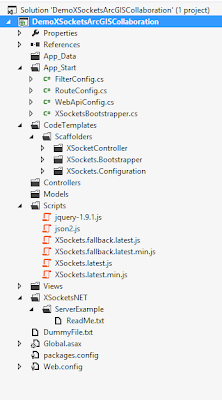
| The project now have resources added for XSockets.Net |
What strikes me is that the need for several projects has disappeared. Everything is neatly in the same project.
For the client side I used the same boilerplate show extent example but with newer ArcGIS for Javascript and XSocket Javascript API to make it easier to follow what changes I needed to do.
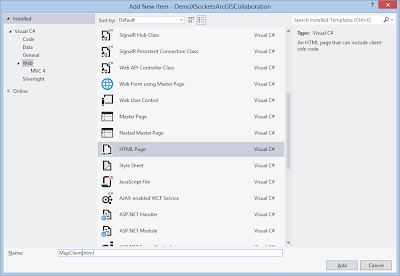
Add a new html page in the root of the project:
 |
| Add New Item |
 |
| MapClient.html |
Now it's time add the sample code:
Don't forget to set the new page to be the start page of the web application, right click the page in the solution explorer and choose start page.
So with the client side done it's time to setup the server side. Create custom Controller (Controller was called handler before):
We do that by scaffolding a new controller:
 |
| Scaffold XSocketController DemoController |
 |
| DemoController.cs |
Start the web page by choosing Chrome and start in Visual Studio:
 |
| Use the drop down in VS2012 to choose the right browser |
This should start the web browser showing a map, start an other chrome instance and copy the adress into that browser. If you did all the steps correct, you will be able to pan the extent in one map and the other browser will follow:
 |
| Opened the MapClient.html in two browser windows |

1 comment:
A promising start and the text is relevant. However the appearance of the blog is not suited to the topic. For a technology based blog, the background color should have been grey or black.
Post a Comment